


.png)
Blueberry Lemon Jam
- Autumn Hopwood
- Sep 3, 2024
- 4 min read

Updated: Sep 8, 2025
Preserve the Summer with Homemade Blueberry Lemon Jam
Summer is a fleeting treasure trove of ripe fruits and nothing captures the essence of the season quite like a jar of homemade jam. If you’re looking for a way to preserve that sweet, sunny feeling well into the colder months, look no further than Blueberry Lemon Jam. This delightful spread combines the tart brightness of lemons with the rich sweetness of blueberries, creating a jam that’s both vibrant and versatile. Even better, making this jam at home might be more simple than you think!

A Perfect Beginners Project for Urban Homesteaders
Urban homesteading is all about bringing a touch of self-sufficiency and creativity into your city life. Whether you have a rooftop garden, a small balcony, or just a passion for homemade goodies, there’s something incredibly rewarding about creating your own preserves. If you’re new to canning or want a simple, delicious project, Blueberry Lemon Jam is a fantastic place to start.

A Match Made in Jam Heaven
Blueberries, with their natural sweetness and a burst of antioxidants, pair beautifully with the zesty punch of lemon. This combination not only makes for a tasty treat but also offers a refreshing twist on traditional jams. Lemon adds a citrusy tang that cuts through the sweetness, balancing the flavors and elevating the blueberries to new heights. It’s perfect for slathering on toast, dolloping over yogurt, or using as a filling for pastries. Here’s how you can bring a touch of summer to your pantry with this delectable recipe!
Ingredients You’ll Need
4 1/2 cups blueberries
1/3 cup lemon juice
2 tsp grated lemon
6 1/2 cups of sugar*
6 oz of pectin
Instructions
Prepare Your Jars and Lids: Before you start, make sure your canning jars and lids are clean. Sterilize them by boiling in water for 10 minutes, then let them air dry.
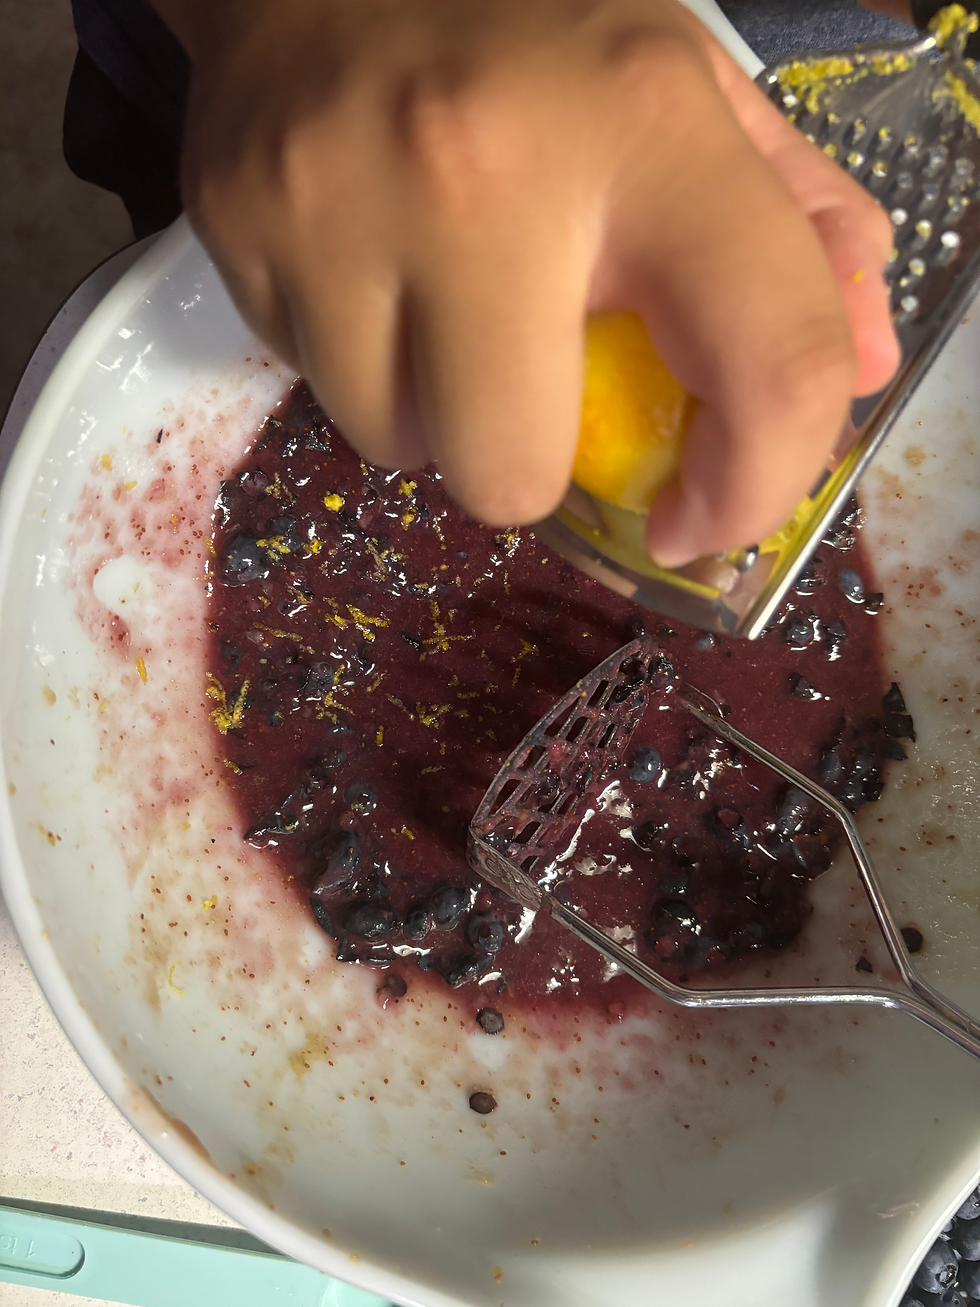
Prepare the Ingredients: Wash your blueberries and lemon under cold running water and drain. Crush the blueberries one layer at a time with a potato masher. Grate your lemon peel until you get 2 tsp worth. Cut your lemon and squeeze 1/3 cup (remove the seeds). If it doesn’t yield enough top off the 1/3 cup with bottled lemon juice.
Cook the Blueberries: Combine the crushed blueberries, grated lemon peel, and lemon juice in a large saucepan. Bring mixture to a boil over medium-high heat. Add sugar, stirring until sugar dissolves. Bring mixture to a rolling boil that can’t be stirred down. Stir in pectin and bring to a hard boil for 1 minute STIRRING CONSTANTLY. Skim the foam off if there is any.
Fill Your Jars: Ladle hot jam into a warm jar, leaving 1/4 inch headspace. Remove air bubbles. Clean jar rim (I used a clean towel dipped in white vinegar) Center the lid on the jar and put a band on to fingertip-tight. Place jar on the rack or towel in the simmer water in your canner. Repeat until all the jars are filled.
Can Your Jam: Once your canner is full the jars must be covered by at least 1 inch of water. Adjust heat to a medium-high, cover canner, and bring to a rolling boil. Once it is at that rolling boil THEN you start your timer. Do not start your timer before that. Once you’re boiling, start a 10 minute timer (adjust time according to your altitude)
Finishing Steps: Once your timer goes off, turn off the heat and remove the lid, allow the jars to sit in water 5 minutes. Remove the jars DO NOT adjust the rings at all. Just set them on the counter and allow to cool for 12 hours. Then you can remove your ring and check your seal.*

Enjoying Your Blueberry Lemon Jam
Your homemade jam is now ready to enjoy! Spread it on warm toast, use it as a topping for cheesecake, or add it to your favorite baked goods for a burst of fruity flavor. And if you’re feeling generous, it makes a charming gift for friends and family.
Embarking on the journey of homesteading, whether rural or urban, doesn’t have to be overwhelming. With projects like making jam, you can enjoy the process of creating something special right into your own kitchen! Here’s to bringing a bit of homemade sunshine into your urban life!

Notes
*While it might seem odd to add a large amount of sugar to already sweet berries, the process of adding sugar is vastly important to prevent spoilage when canning. The large amount of sugar present reduces the available moisture for microbial growth.
*To check your seal you hold the jar by the lid (without the ring on it) about an inch above the counter and if it holds you are good to go!
Tip
This process is most easily completed in an “assembly line” fashion. Complete one jar at a time, putting them in the water once that jar is completely filled and tightened down. This will ensure the contents are staying warm the entire time.


Comments